Description
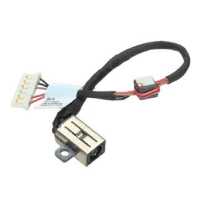
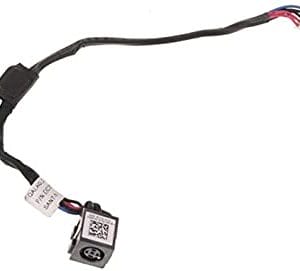
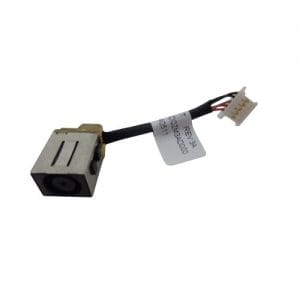
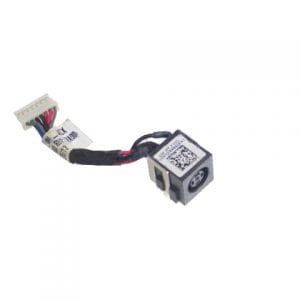
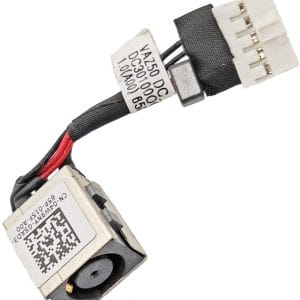
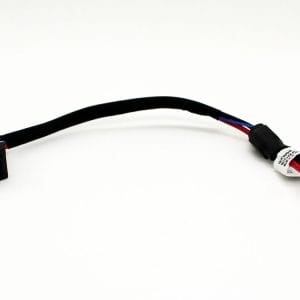
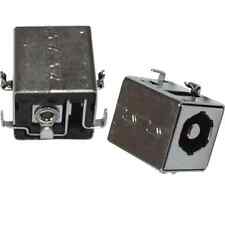
Dell Inspiron 5558 DC Power Jack Cable Price Hyderabad
Please check the pictures and description carefully before bidding.
Description:
In this Dell laptop tutorial we are going to show you how to install and replace the DC Jack on your Inspiron 15-5558 (P51F-001) laptop.
We have also create a video tutorial that shows you how to install your Inspiron 15-5558 (P51F-001) DC Jack.
Tools needed for this laptop repair
- 1 x small phillips head screwdriver
- 1 x small plastic scribe
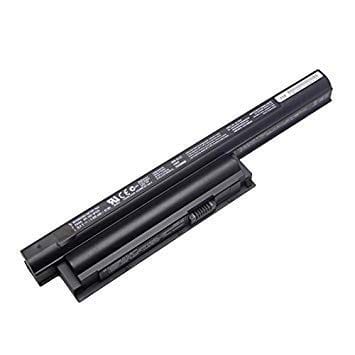
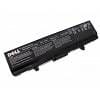
- Slide the latch to the left to unlock the battery.
- Lift the Battery out of the laptop.
- Turn the laptop over and open it up.
- Using a scribe of flat head screwdriver, press in the keyboard latches and pry up the keyboard.
- Unplug the keyboard cable.
- Remove the Keyboard.
- Unplug the optical drive cable.
- Unplug the power button cable.
- the touchpad cable.
- Remove the 6 – M2.5 x 5mm screws under the keyboard.
- Close the laptop & turn it over.
- Remove the 1- M2 x 5mm screw.
- Use the slot under the battery to slide the optical drive out.
- Remove the DVD Optical Drive.
- Remove the 2 – M2.5 x 8mm screws.
- the Access Door.
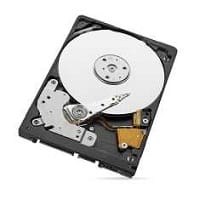
- Unplug the hard drive cable.
- Remove the 4 – M2.5 x 8mm screws.
- Lift the Hard Drive out of the laptop.
- Remove the 1 – M2 x 3mm screw.
- Remove the bracket.
- Unplug the antenna cables.
- Remove the Wireless WLAN Card.
- the 3 – M2 x 2mm Wafer screws under the optical drive.
- Remove the 2 – M2.5 x 8mm hinge screws.
- the 4 – M2.5 x 5mm screws under the battery.
- Remove the 6 – M2.5 x 8mm screws under the access door.
- Unplug the speaker cable.
- Unsnap & separate the Bottom Base from the laptop
- Loosen the antenna cables.
- Unplug & loosen the LCD cable
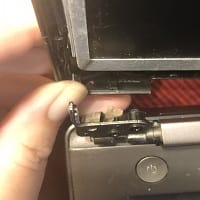
- Open the display.
- Remove the 4 – M2.5 x 8mm hinge screws.
- Remove the LCD Display.

